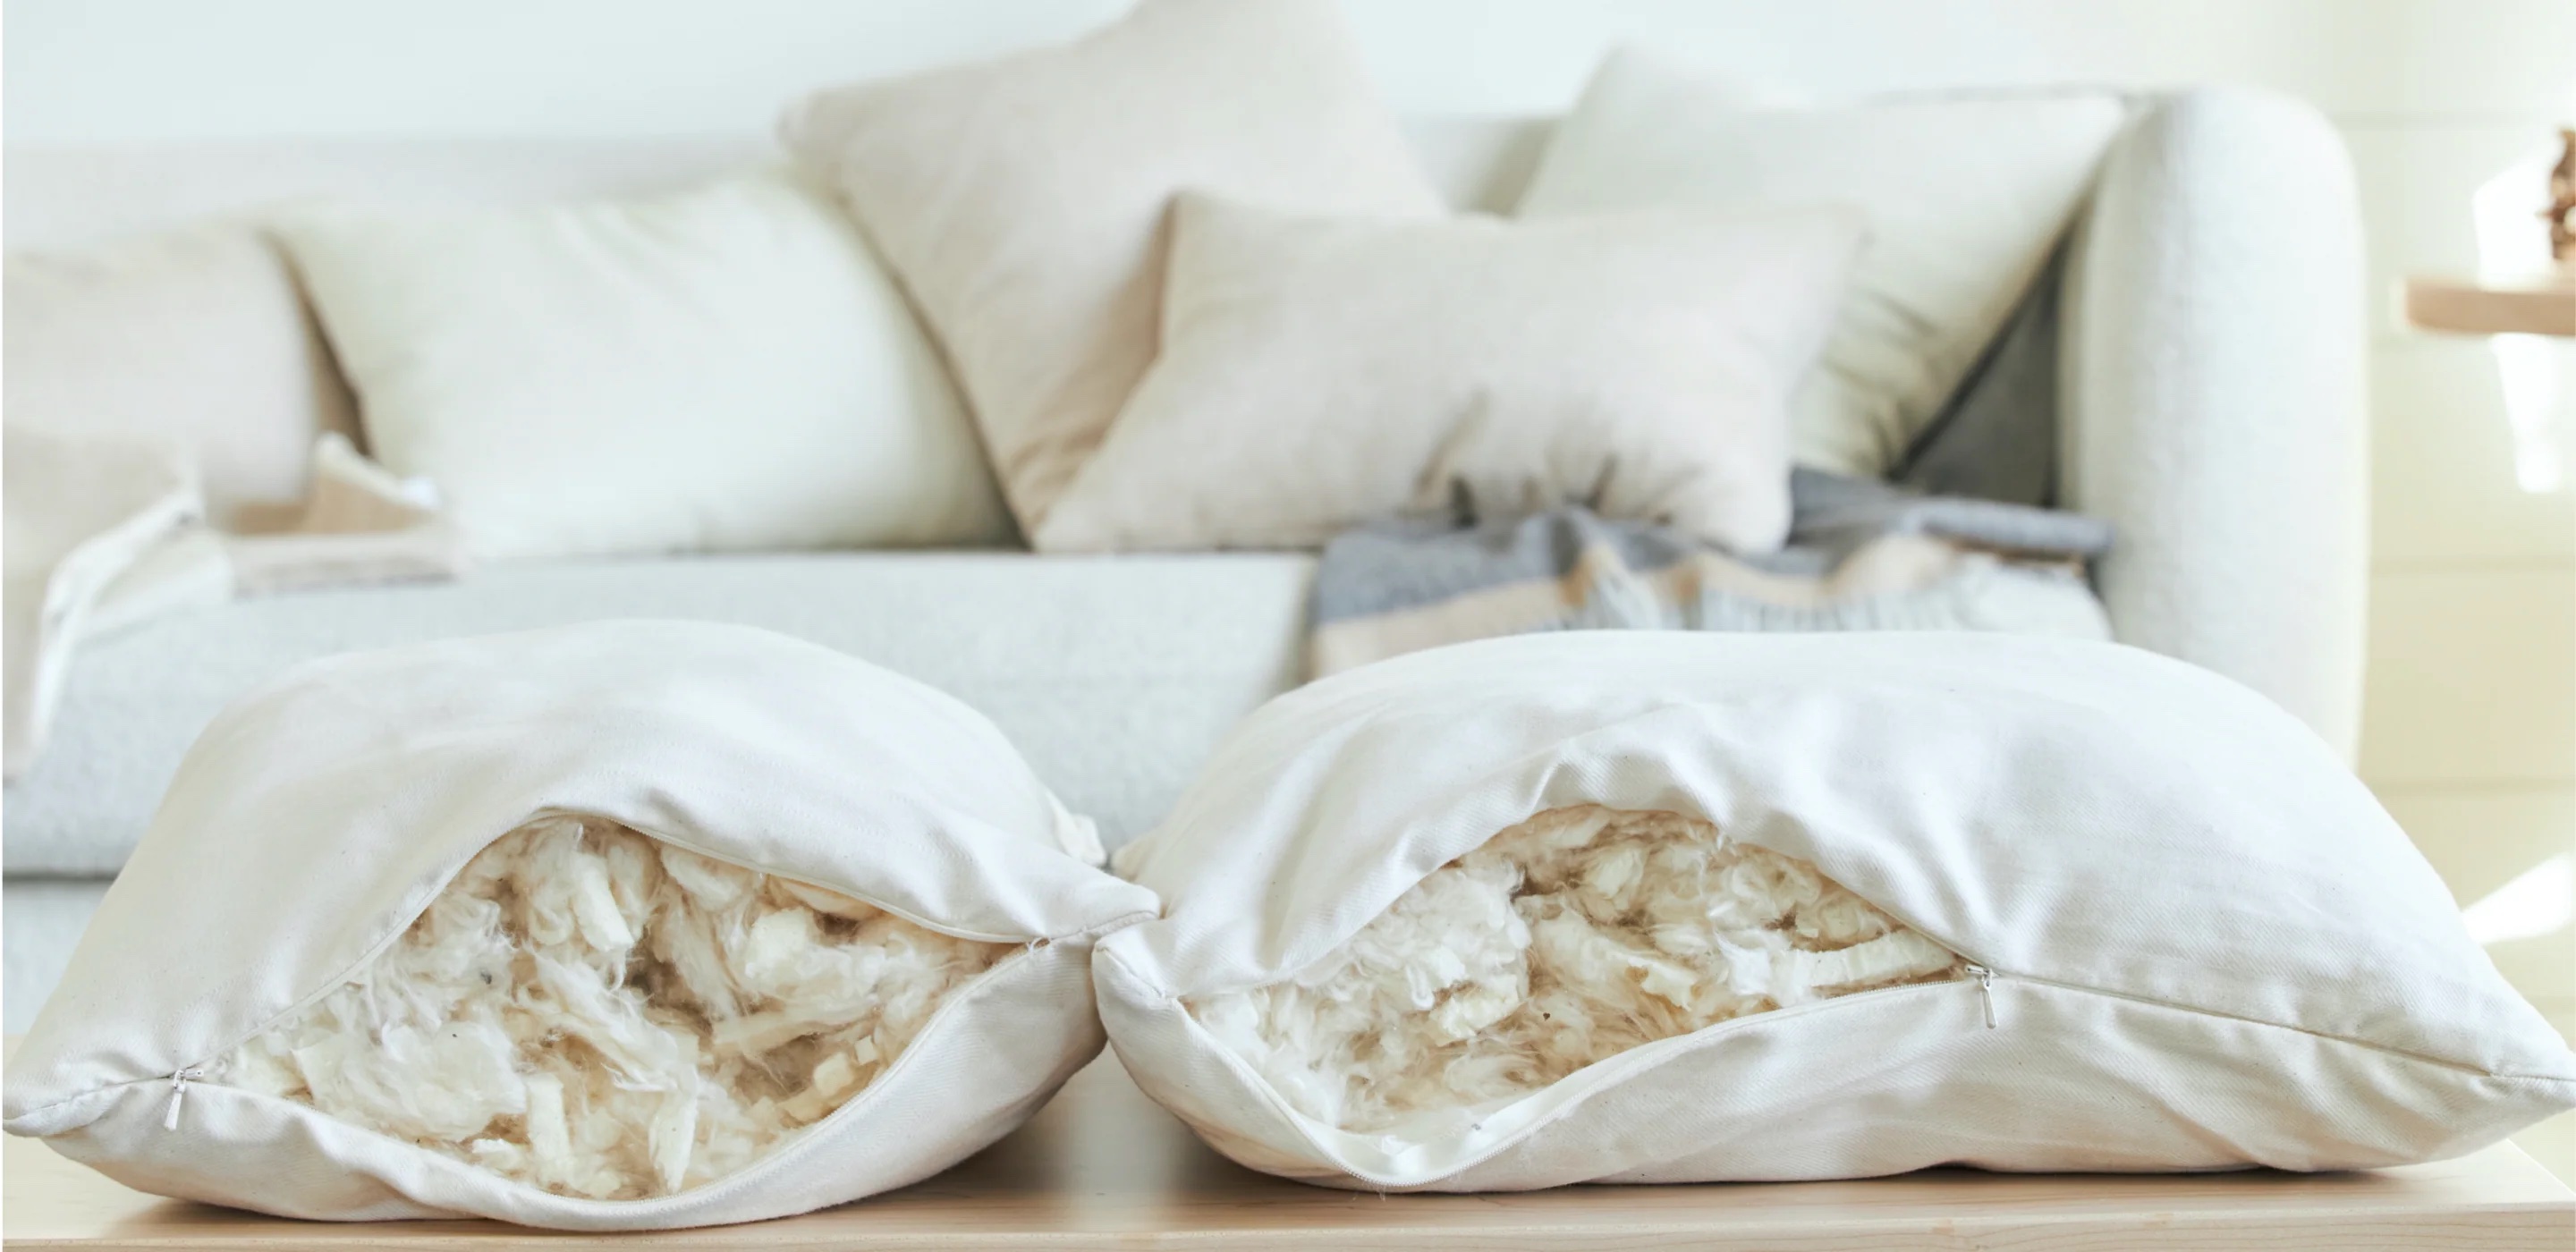
In our ongoing efforts to reduce our environmental footprint, we have made an eco-conscious decision to no longer ship inserts with our sustainable luxury cushion covers. This environmentally friendly approach allows us to minimize packaging materials, reduce transportation emissions, and promote an even more eco-conscious brand ethos. We encourage you to consider reusing or repurposing existing inserts you may have or explore sustainable alternatives available locally. This only applies to online purchases and the new reduced website pricing is reflective. If you are shopping at one of our brick-and-mortar retail partners, they sell our cushions with their locally sourced inserts. Thank you for joining us on our mission towards a greener and more mindful future.

Pillow Insert Step-by Step Instructions Guide
- Prepare the Pillowcase: Lay the pillowcase flat on a clean surface, ensuring that the zipper is fully open and at the bottom of the pillowcase.
- Fluff the Pillow Insert: Before inserting the pillow, give it a good fluff to evenly distribute the filling. This ensures that the insert is not clumped in one area, making it easier to position within the pillowcase.
- Start with the Top Corners: Hold the pillow with both hands and place the top corners of the insert into the top corners of the pillowcase. If the pillow is larger than the case, you may need to fold or bend the insert slightly to fit it through the opening.
- Work Your Way Down: Gradually work your way down, pushing the pillow into the case. Make sure the sides and bottom of the insert are aligned with the corresponding sides and bottom of the pillowcase.
- Use a Gentle Side-to-Side Motion: Employ a gentle side-to-side motion as you continue to insert the pillow. This helps distribute the filling evenly and prevents it from bunching up in one area. Pay attention to the corners to ensure they are filled and shaped properly.
- Reach the Bottom Corners: As you reach the bottom of the pillowcase, focus on getting the insert into the bottom corners. Adjust the insert as needed to ensure it reaches and fills each corner of the pillowcase.
- Fluff and Adjust: Once the insert is fully inside the pillowcase, fluff and adjust it to ensure an even distribution of filling. Reach into the corners and pull the insert to make sure it reaches every corner of the pillowcase.
- Close the Zipper Carefully: After confirming that the insert is evenly distributed, slowly and carefully zip up the hidden zipper. Take your time to avoid catching the fabric in the zipper, especially if it's delicate. If it catches, stop and move the zipper backwards to unobstruct the zipper. You can be firm with the zipper but don’t pull like its Tug of War! ;) Sometimes with change of material on the cover (eg leather strips) the zipper will move a little slower and tighter in the section. It’s normal, don’t worry!
- Fluff, chop and shake: Give the pillow a final fluff, karate chopping and shake to settle the filling evenly. This step helps achieve a plump and well-distributed look.
Step back and admire with the solemnity of an art connoisseur after the arrangement of a masterpiece.
This is now your work of art and your piece of fashion history…….go cozy up!
Share your pillow stories with us on Instagram @catebrownstudio
